This page may contain affiliate links, which means that we may earn from qualifying purchases at no additional cost to you.
When visiting the magnificent Grand Canyon, it’s easy to see why it’s been deemed one of the Seven Natural Wonders of the World.
Its vast, colorful expanse is a sight that everyone should view at least once in their lives. And with this Grand Canyon 2 day itinerary, you can be sure to take in all the best experiences while you’re there!
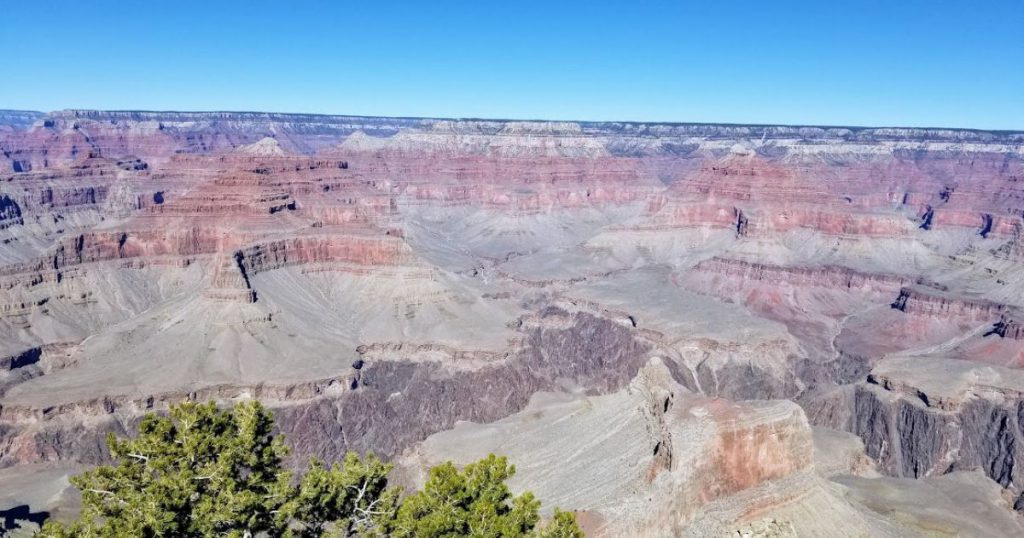
Even growing up hearing about the Grand Canyon it’s hard to truly grasp the magnitude of it until you’re actually standing next to it. On our trip to the Grand Canyon, we were awestruck with the vastness and beauty of the canyon.
I wondered before I left if eventually I would get sick of looking at view after view of the canyon, but I can honestly say that it never got old. In fact, each new viewpoint lets you see the canyon in a slightly different way.
So start planning your trip and get ready for an experience of a lifetime! This Grand Canyon 2 day itinerary has everything you need for a perfect trip.
For tips on visiting the Grand Canyon with kids, see this post.
Grand Canyon 2 Day Itinerary
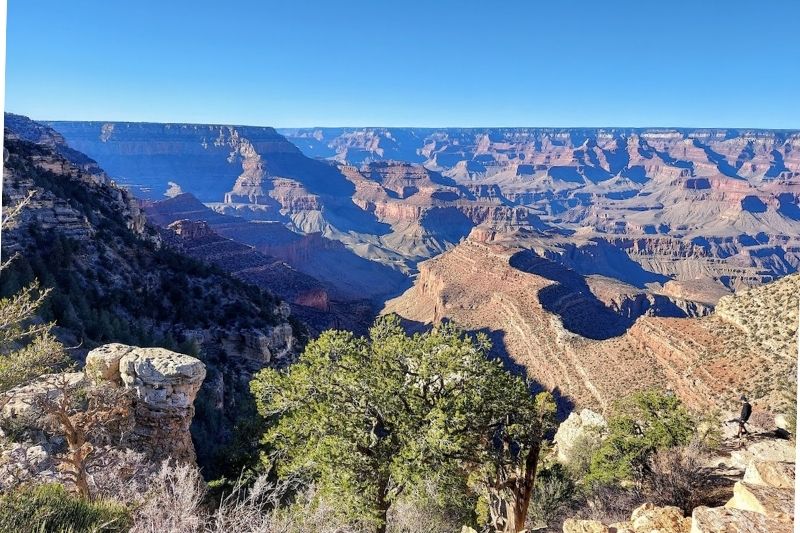

Grand Canyon 2 Day Itinerary Overview
On this Grand Canyon 2 day itinerary, we’ll cover the best hikes, viewpoints, and experiences at the South Rim of the Grand Canyon! Here’s a quick overview of what to expect.
Day 1
- South Kaibab Trail
- Mather Point
- Yavapai Point and Yavapai Geology Museum
- Trail of Time
Day 2
- Bright Angel Trail
- Hermits Rest Route
- Desert View Drive
- Desert View Watchtower
- Watch the sunset
Day 1
Hike South Kaibab Trail
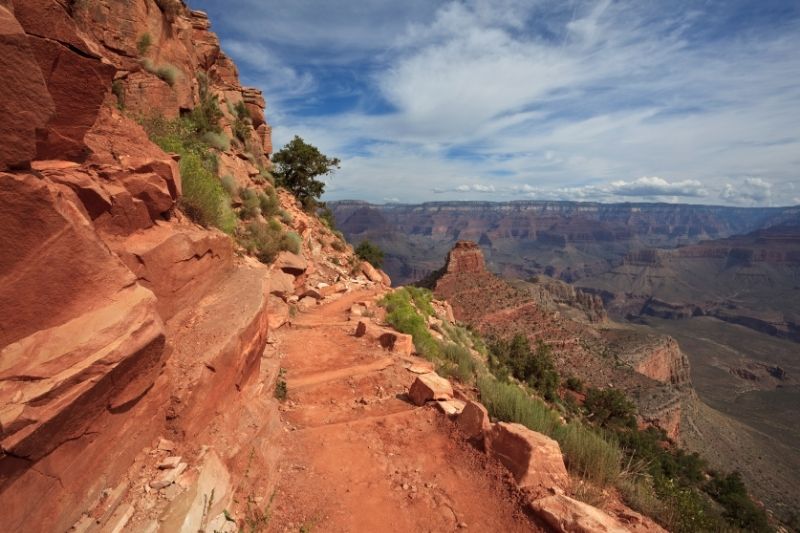

Start off your first day with a hike on South Kaibab Trail. On this hike, you’ll get the experience of descending into the canyon and you’ll be treated to some gorgeous views along the way.
There’s very little shade along the trail, so it’s nice to get started early before it gets too hot and the sun gets too high in the sky.
To reach the trailhead, take the Orange Shuttle from the visitor center. The road is not accessible by private vehicles, so you need to take the shuttle or walk along the Rim Trail to reach the trailhead.
At the trailhead, you can find restrooms and a water filling station. There is no water available along the trail, so be sure that you’re bringing plenty with you.
This trail goes all the way down to the bottom of the canyon (6 miles roundtrip), but it is not recommended that you do the whole hike in one day, especially in the summer. Instead, you can turn back at one of the stopping points along the way.
Your first option is to turn back at Ooh Aah Point, which is .9 miles into the hike (1.8 miles roundtrip). This is the steepest part of the trail but ends with some spectacular views from the viewpoint. If you’re visiting with kids, this is a great hike to get the experience of going down into the canyon without it being too challenging.
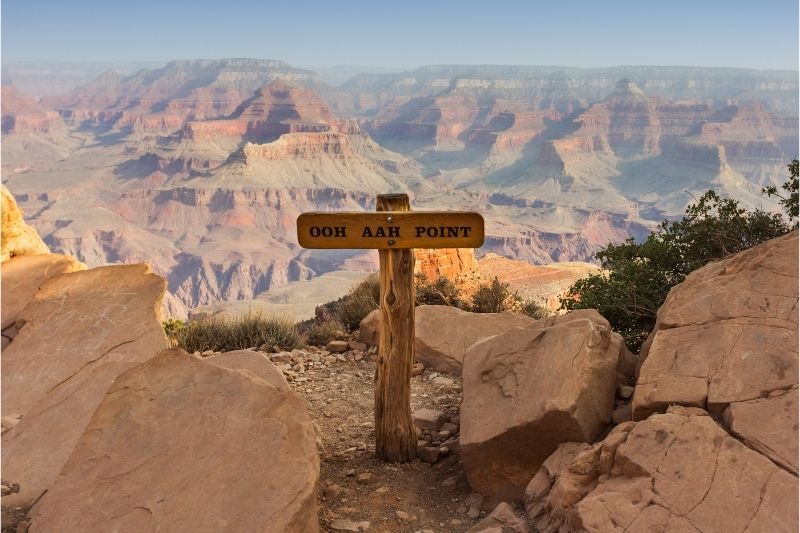

If you’re up for a more strenuous hiking experience, plan to turn around at Cedar Ridge, which is 3 miles roundtrip. From this point, you can see some gorgeous views of the canyon. There are also restrooms at this stop.
The last stop on the hike is Skeleton Point, which is a 6-mile hike round trip. It’s not recommended that you go past this point as a day hike. Some people choose to hike down and stay the night at Phantom Ranch, located at the bottom of the Grand Canyon. For the hike back up, adventurous hikers will connect to the Bright Angel Trail and take that trail back up to the rim.
Walk to Mather Point
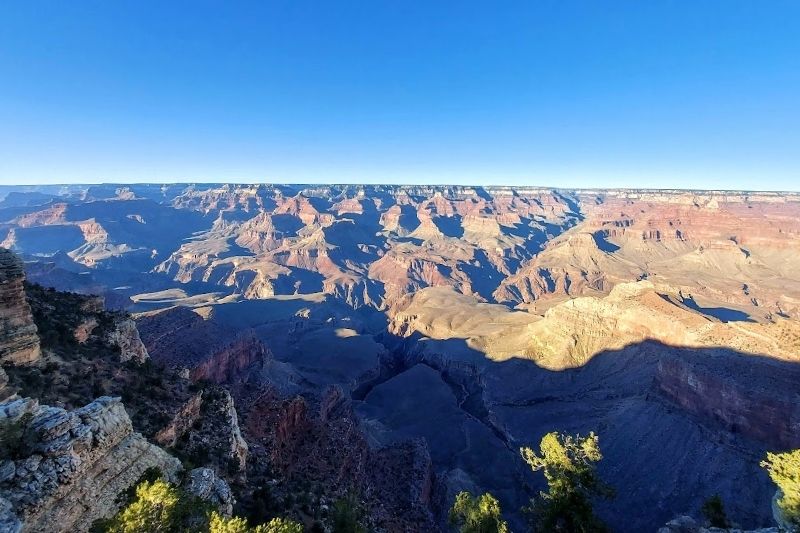

When you return to the Visitor Center, take the five-minute walk to Mather Point, one of the most popular viewpoints in the park.
From this point, you have stunning, unobstructed views of the canyon for 60 miles to the west and 30 miles to the east. This is also a great place to see the sunrise or sunset over the Grand Canyon.
Visit Yavapai Point and Museum of Geology
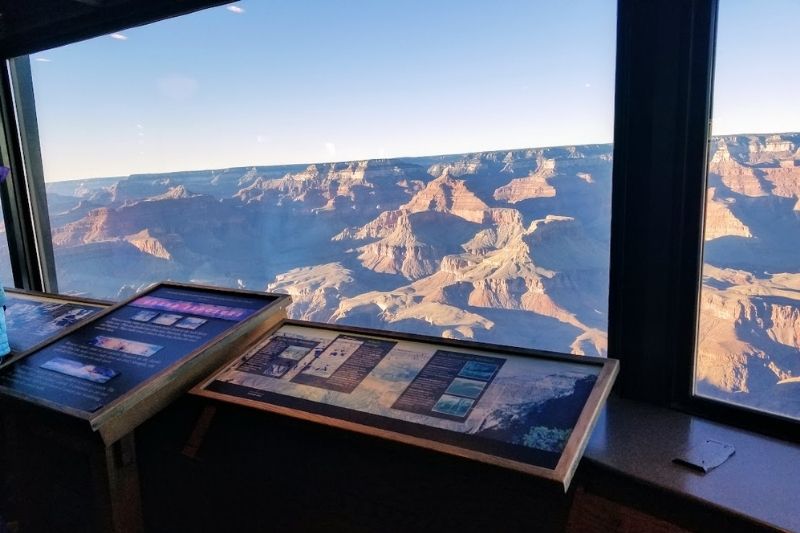

From here you can either take a shuttle or walk the .7 miles to Yavapai Point. The paved path is accessible to strollers and wheelchairs and takes you right along the rim of the canyon.
At the end of the path, you’ll find the Yavapai Museum of Geology perched on the rim of the canyon. Inside the museum, you can learn about the different rock layers in the canyon and the geologic history of the area. Large picture windows provide panoramic views of the canyon while you explore the museum.
Also located inside is a bookstore and museum shop.
Walk along the Trail of Time
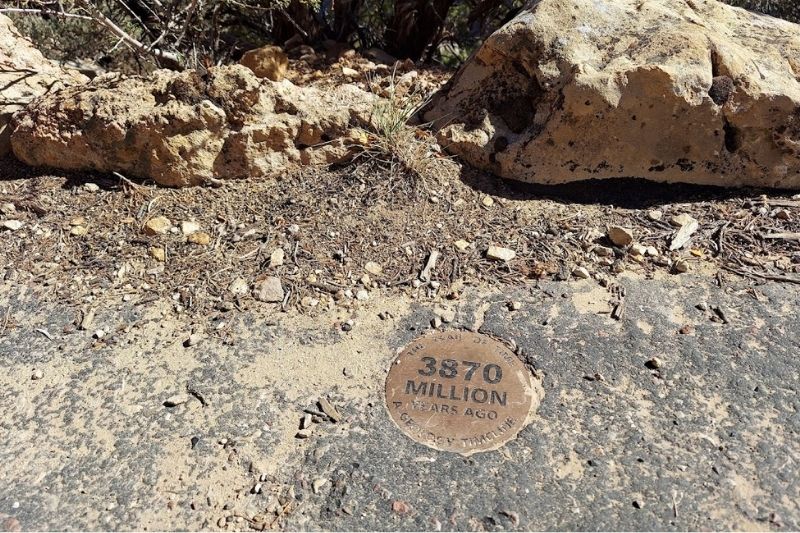

From Yavapai Museum, head west to take the Trail of Time. This flat, 2.8-mile hike follows the rim of the canyon.
The trail is a geologic timeline that walks you through the formation of the canyon. Each meter walked represents one million years of geologic history in the Grand Canyon, with bronze medallions marking the path. Along the way you can find exhibits and plaques explaining how the canyon was formed.
The trail starts at Yavapai Geology Museum and continues into and through Grand Canyon Village. It takes about an hour to walk the whole trail.
Day 2
On day two of your Grand Canyon 2 day itinerary, you have a few different options. If you choose to do the Bright Angel Trail hike, you can do the condensed option on Hermit’s Rest Route (see below) in the afternoon if you find yourself short on time or even skip it altogether.
If you’re all hiked out, you can skip Bright Angel trail and do the full Hermit’s Rest Route and then head out for the Desert View Drive.
Hike Bright Angel Trail
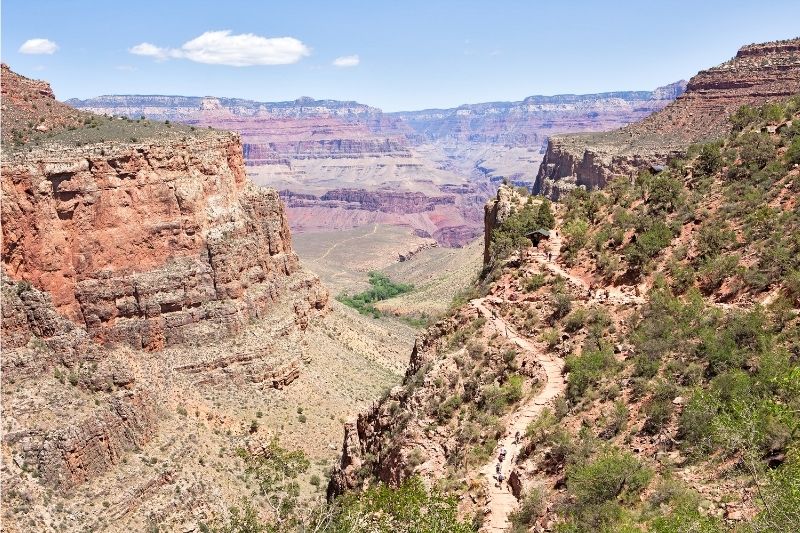

If you’re up for another hike into the canyon, Bright Angel Trail is the most popular hike at the Grand Canyon.
This is another hike that takes you down into the canyon with gorgeous views along the way, eventually reaching the river at the canyon bottom.
The trailhead is located just West of Bright Angel Lodge; follow the path along the rim to find the start of the trail. There’s water available at the trailhead and on this hike, there’s actually water available along the trail as well.
If you follow the whole trail, it’s a 12-mile round trip hike. However, it is not recommended that you complete the whole trail in one day.
There are numerous turnback points along the way. For casual hikers, a good turnaround point is 1.5 Mile Resthouse, which as the name suggests is 1.5 miles into the hike (3 miles roundtrip). Here you can find water (available seasonally), restrooms, and an emergency phone.
If you’re up for a bit of a challenge, head on another mile and a half to 3 Mile Resthouse. This point also has water available seasonally (from May to September) and an emergency phone.
The furthest point along the trail it is recommended you go on a summer day hike is Indian Garden, located 4.5 miles down the trail. Here water is available year-round and you can find restrooms and picnic tables. This is a strenuous hike and you should be in good shape if you plan to attempt it.
Visit the viewpoints along Hermit’s Rest Route
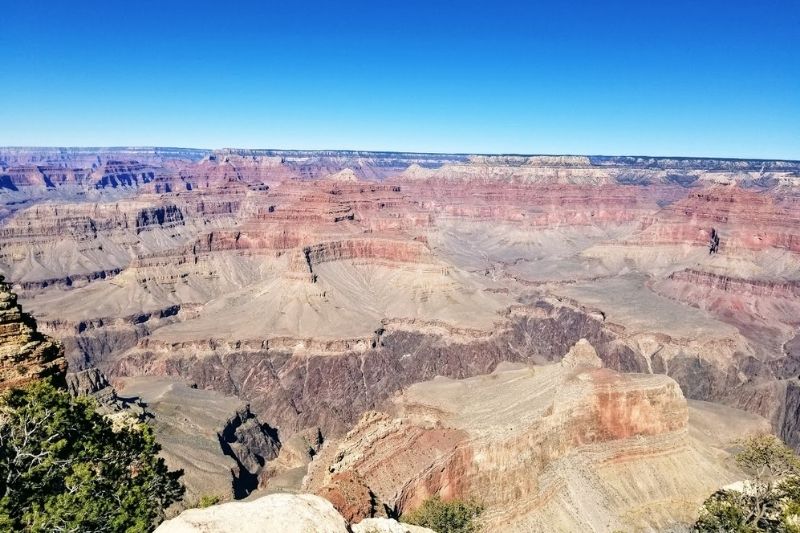

Long version: Complete the entire route, stopping at each viewpoint and walking some stretches of trail. Time needed: 3-4 hours
Short version: Take the shuttle to Hopi Point. Walk the .3 miles from Hop Point to Powell Point. Take the return shuttle from Powell Point. Time needed: 45 minutes-1 hour
After your hike, plan on spending the afternoon visiting some of the viewpoints along Hermit Road. This road is closed to private vehicles from March to November, so you’ll need to either take the red shuttle or walk along the Rim Trail to reach the Hermit Road viewpoints.
There are nine shuttle stops along the road with shuttles coming by every 10 to 15 minutes, which means you can decide how much or little you want to walk. The distances between shuttle stops range from .3 miles to 1.8 miles. I’d recommend doing a combination of the two, where you walk some segments and ride the shuttle for others.
Some of the best segments to walk include the stretch between Village Route Transfer and Trailview Overlook (.7 miles) and the one between Powell Point and Hopi Point (.3 miles).
The shuttle route takes 80 minutes to complete without getting off. If you want to get off at each stop, you’ll need to plan in about 3-4 hours.
Note that Hopi Point and Hermits Rest are the only stops along the way that have restrooms.
On the route towards Hermits Rest, the shuttle stops at every stop, but on the way back it only stops at three: Pima Point, Mohave Point, and Powell Point.
Take the Desert View Drive
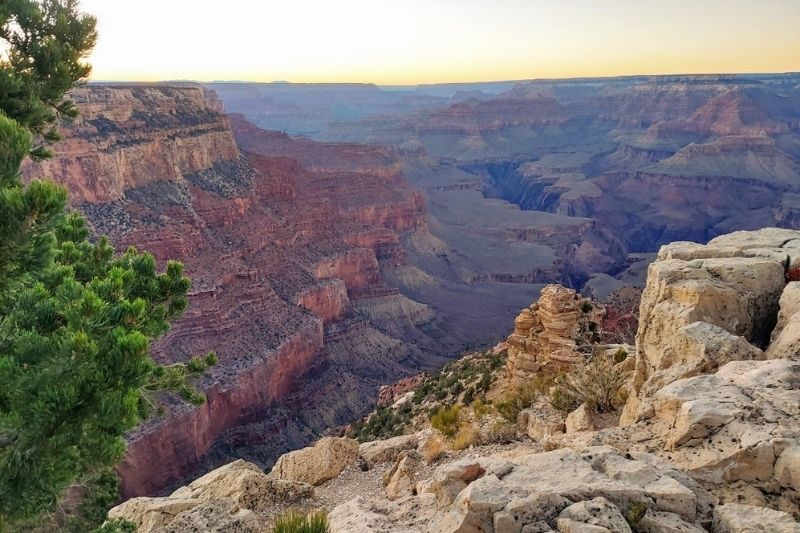

After you take the shuttle back to the Visitor Center, grab your car and take the scenic Desert View Drive.
Along the way, you’ll come across scenic overlooks and roadside pullouts that will give you another perspective on the Grand Canyon.
Viewpoints along Desert View Drive
- Grandview Point
- Moran Point
- Lipan Point
- Navajo Point
- Desert View Watchtower
You can also make a stop at Tusayan Museum and Ruin, where you can see the remains of an 800-year-old Puebloan village. In the museum, you can see artifacts and handicrafts made in the area 2,000 to 4,000 years ago. This site is currently closed due to COVID.
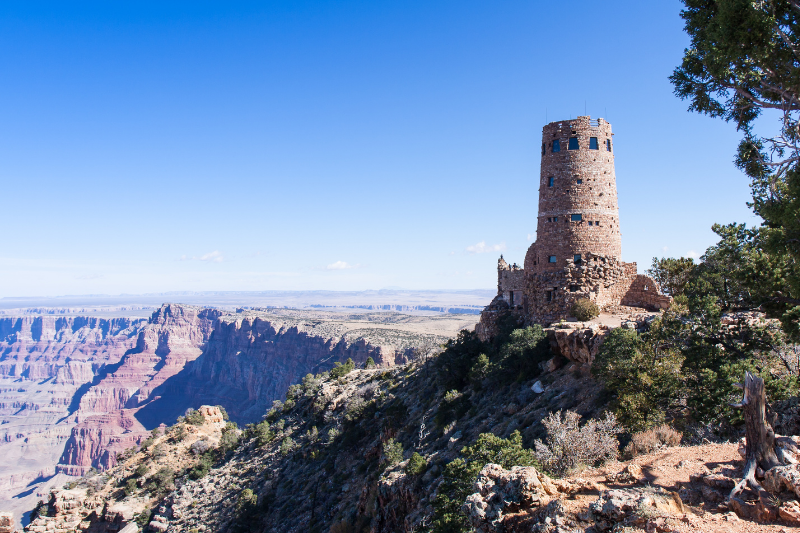

The last stop on the drive is the Desert View Watchtower. Situated right on the rim of the canyon, this stone watchtower was built in 1932 by Mary Elizabeth Jane Colter, a renowned architect in the southwest.
Typically you can climb to the top of the tower, where on a clear day you can see out over 100 miles. However, the interior of the watchtower is currently closed due to COVID.
Be that as it may, the watchtower is an impressive sight and there are gorgeous views of the canyon from its base.
Watch the sun set over the canyon
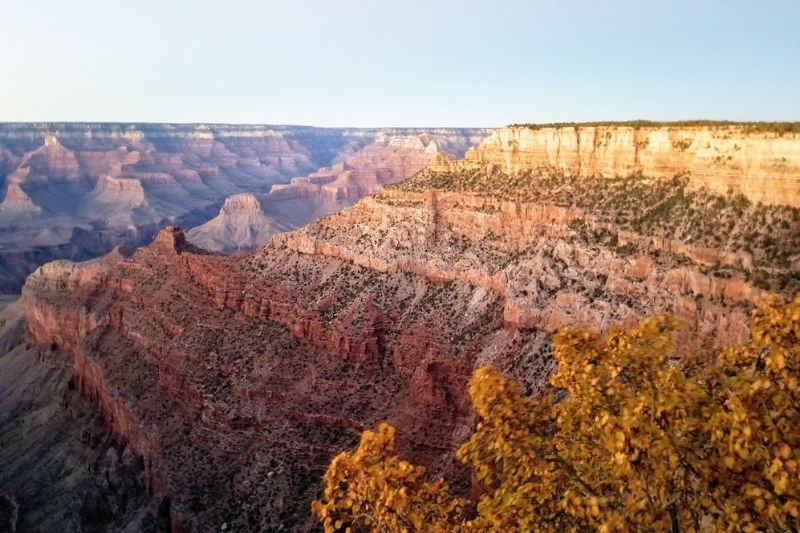

Once you’re finished at Desert Watchtower, find someplace to catch the sunset over the Grand Canyon.
Lipan Point along the Desert View Drive is considered one of the best places in the south rim to see the sunset. Another great option is heading back to Mather Point near the Visitor Center.
Seeing the canyon lit up by the sunset is a spectacular sight that you won’t soon forget. It’s a perfect way to end your time at the Grand Canyon.
Grand Canyon 2 Day Itinerary FAQs
Is 2 days enough for the Grand Canyon?
Two days is the perfect amount of time to spend at the Grand Canyon. In that amount of time, you can see all of the main sights of the canyon and have time to go on a few shorter hikes into and around the canyon.
If you want to do some of the longer hikes or go at a slower pace, you could add on a day or two. But for the casual visitor, two days will be enough time to see the sights of the south rim.
Which rim of the Grand Canyon is best?
The South Rim is the most popular rim of the Grand Canyon to visit. It is much more accessible than the North Rim and has more options for food, lodging, and park amenities. Plus while the South Rim has dozens of viewpoints from which to enjoy the Grand Canyon, the North Rim has just a few, which are much more challenging to get to.
So while both rims have their charms, the South Rim is the one most commonly visited, especially by first-time visitors.
How much does entrance to the Grand Canyon cost?
The entrance fee is $35 per vehicle.
If you plan on visiting any other national parks in the next year, I highly recommend getting the America the Beautiful Pass, which is an annual pass that provides entrance to all national parks and monuments.
Where should I stay when visiting the Grand Canyon?
When visiting the Grand Canyon, you can either stay at the lodges in the park itself or stay outside the park.
If you’re planning on staying in the park, be sure to book well ahead of time as the lodges often fill up months in advance, especially during peak times. You can make a reservation here.
You can also stay in the nearby city of Tusayan, which is just a 15-minute drive from the park.
Some of the best options for lodging outside the park include:
- Holiday Inn Express & Suites Grand Canyon
- Best Western Canyon Squire Inn
- Grand Canyon Plaza Hotel
- The Grand Hotel
Camping is also available at Desert View Campground from April to October. Reservations are required and can be made here.
Tips for hiking at the Grand Canyon
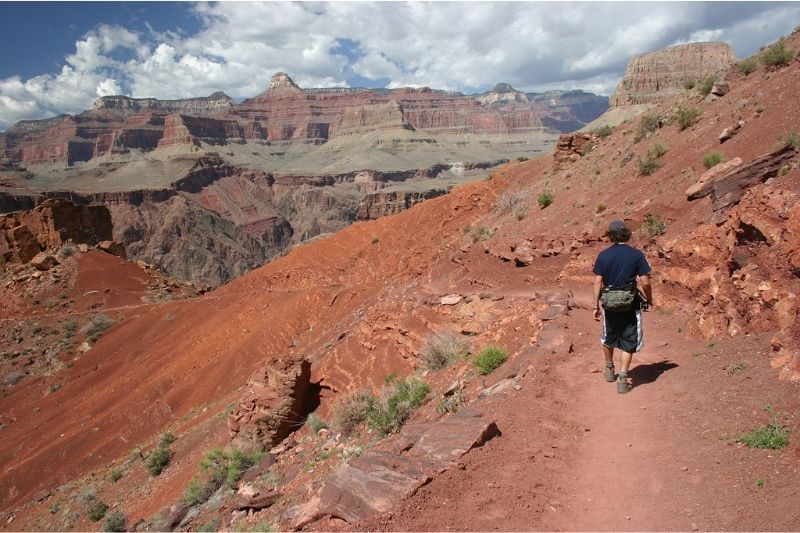

Each year over 250 hikes need to be rescued from the Grand Canyon. Hiking this rugged terrain is a unique experience that requires preparation and caution.
People often overestimate how long of a hike they can manage because it is so much easier going down at the beginning than it is to hike back up. When deciding on how far to go, know that it usually takes at least twice as long to hike back up as it does to hike down.
Make sure to bring plenty of water and eat salty snacks as you hike to prevent dehydration.
And remember that uphill hikers and mules have the right of way on the trail.
What to bring to the Grand Canyon
Water bottle or hydration backpack– When hiking in the Grand Canyon, it’s extremely important to make sure that you’re getting enough fluids. Make sure that you have a good option for carrying an adequate supply of water with you on your hikes.
Sunscreen– There is very little shade in the park, so plan on bringing sunscreen to protect your skin.
Sun hat– A sun hat is useful for keeping the sun off of your face and protecting your skin.
Comfortable hiking shoes– Bring stable, comfortable hiking shoes for a safe and pleasant hiking experience. Make sure to break them in before your trip.
Trekking poles– While certainly not a requirement, trekking poles can give you added stability and take some of the strain off of your legs. You can also rent them in the park at Canyon Village Marketplace.
Salty snacks– Bring salty snacks to munch on while you’re hiking to prevent dehydration.
Final Thoughts
A trip to the Grand Canyon is something that everyone should experience. This Grand Canyon 2 day itinerary will help you make sure you don’t miss any of the must-do activities while you are there.
Other posts you might be interested in:
Visiting the Grand Canyon with Kids- Everything You Need to Know!
One Day in Arches National Park- Best Itinerary for a Quick Trip!

