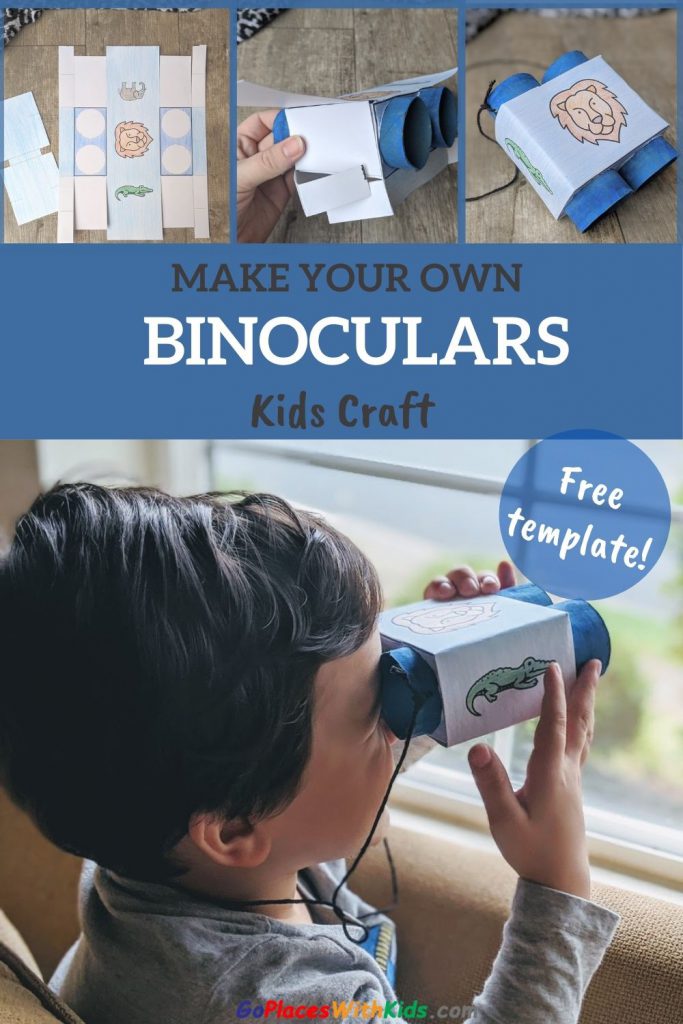
If you’re looking for some play binoculars for a safari themed party or preschool unit (or just a kiddo who loves birdwatching), these are the binoculars for you! These toilet paper roll binoculars are adorable. And kids love making them. Almost as much as they love playing with the binoculars when they are complete!
And all you need to make them is a few simple materials plus the free template available below!
And the great thing about these binoculars is that they are super sturdy and actually hold up well to kids playing with them, unlike some of the other DIY binocular ideas you can find out there.
The frame template is not only cute and fun for kids to decorate, it also holds the toilet paper rolls securely in place. Our binoculars are still going strong after hours of creative play from my rough and tumble boys.
We loved making these as part of our Uganda preschool unit. They are especially fun to make in conjunction with this easy safari hat craft. And this safari look-and-find game is a perfect use of these DIY binoculars!
Toilet Paper Roll Binoculars Craft
Materials
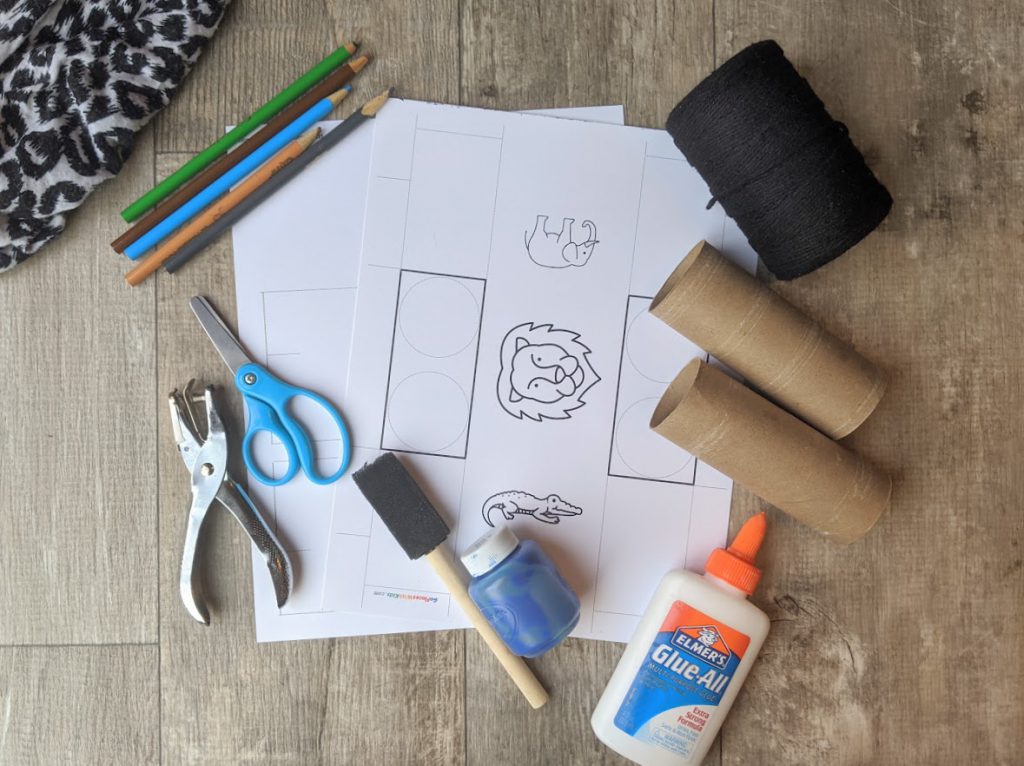
- Binocular printout (download below)
- Cardstock paper
- Toilet paper rolls (2)
- Paint
- Paintbrush
- Colored pencils/markers
- Glue (recommended: Elmer’s Multi-Purpose Glue)
- String
- Hole Punch
- Scissors
Instructions
To start, print out the binocular template printable available below on cardstock paper. Make sure you print actual size, NOT scaled or the holes for the toilet paper rolls will be the wrong size.
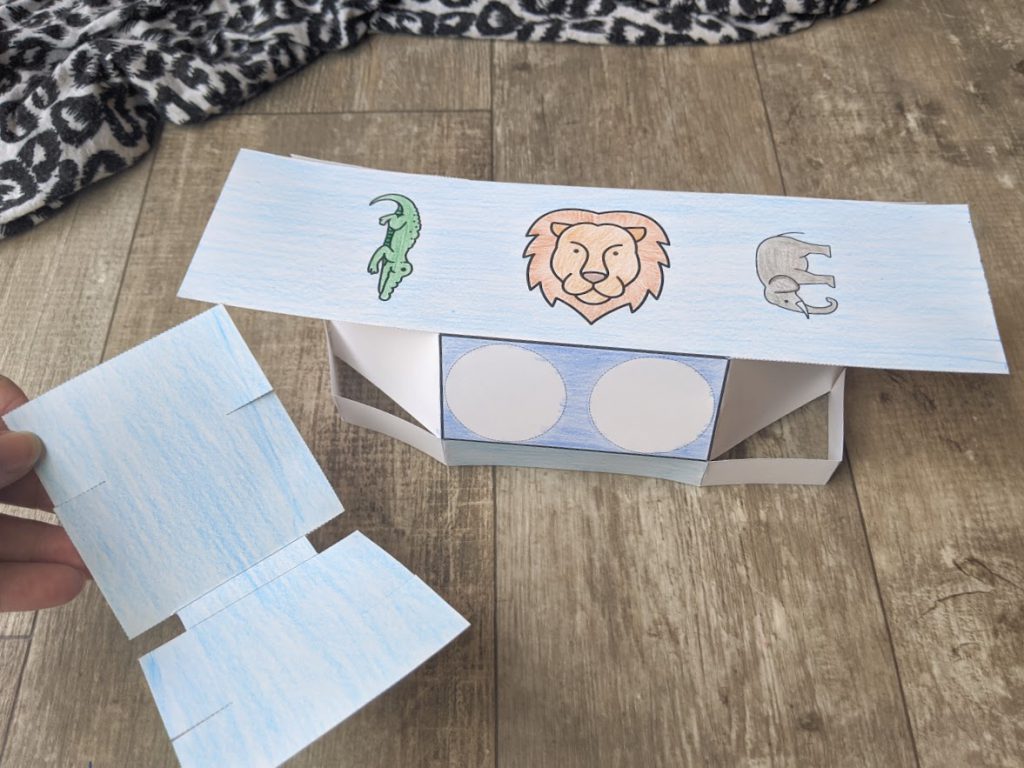
There are two options available, one with animals and one without. There is also an optional bottom insert to provide a more finished look underneath.
Paint your toilet paper rolls in the color of your choice. You can also choose to leave them brown if you don’t want to paint them or to save time.
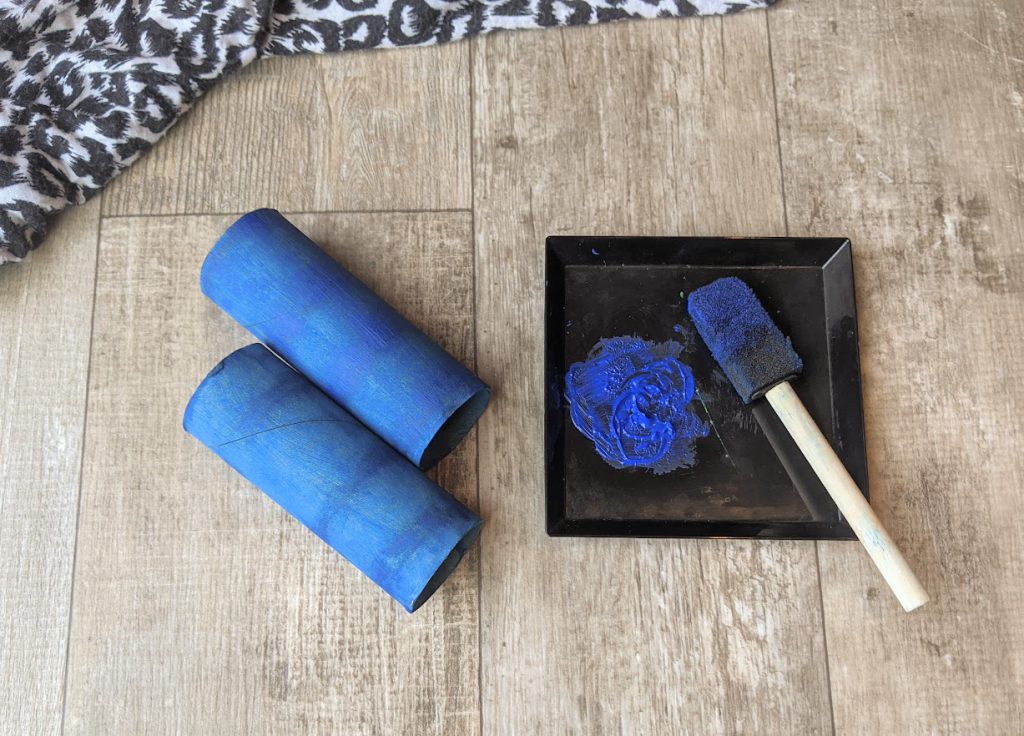
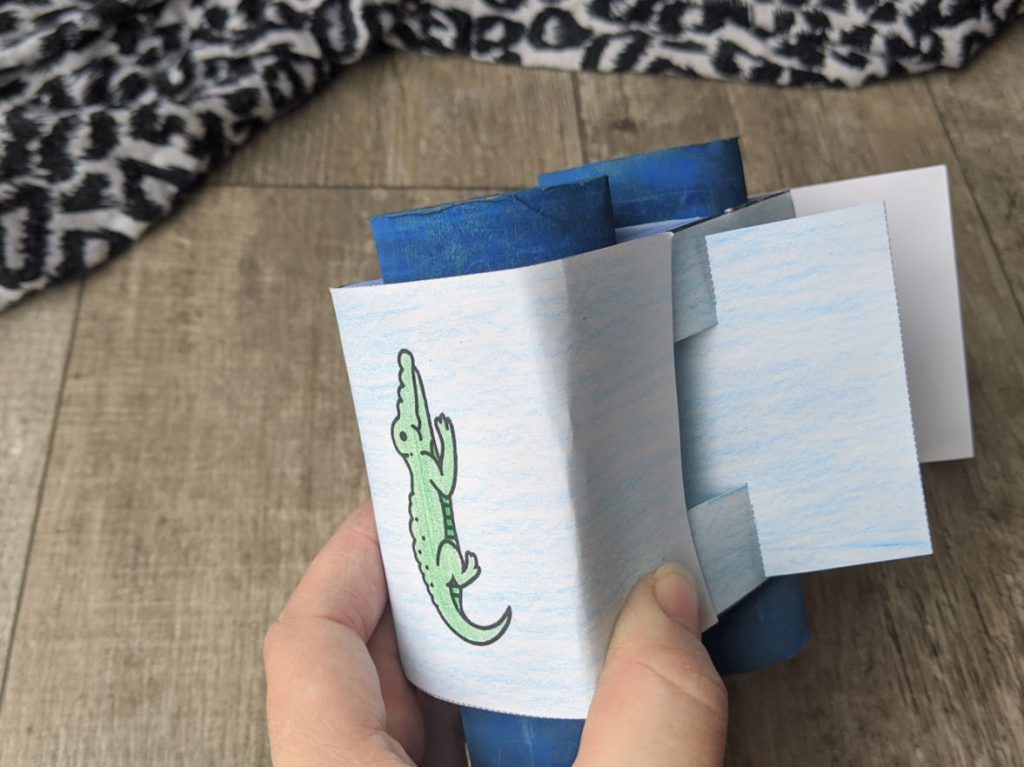
While the rolls are drying, color and decorate the printable.
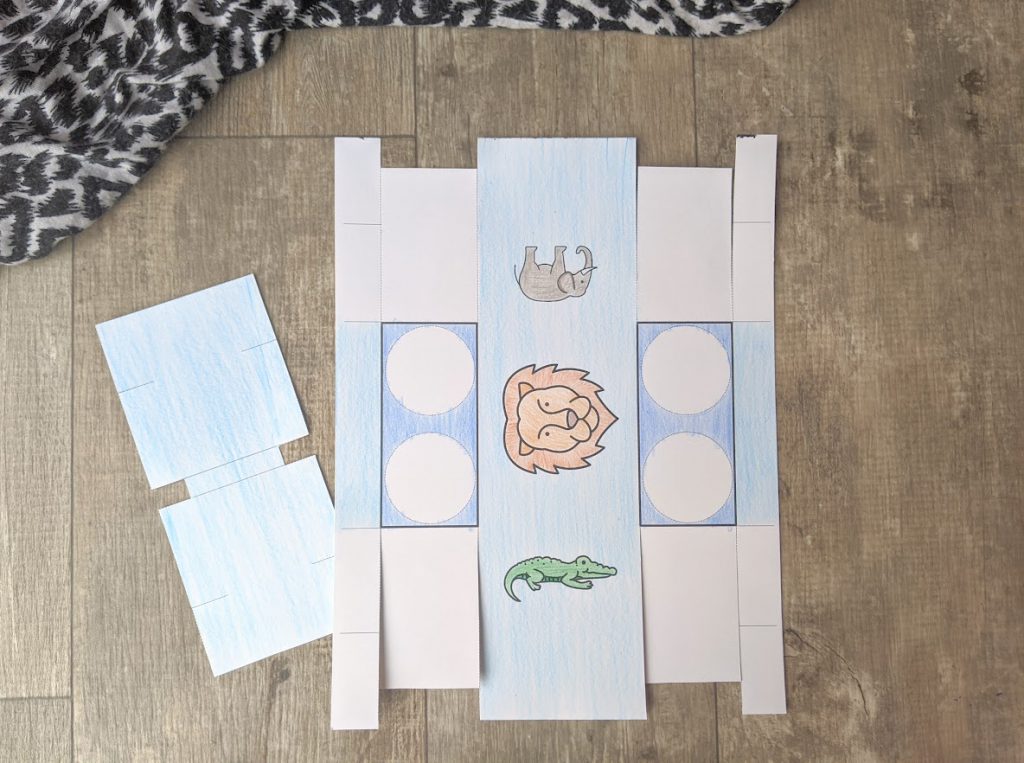
Cut along the dotted lines and fold along the solid lines- including the bold lines. Fold inwards, away from the pictures.
Tip: It’s easier to cut and fold the straight lines first, and then cut out the circular holes for the toilet paper rolls last.
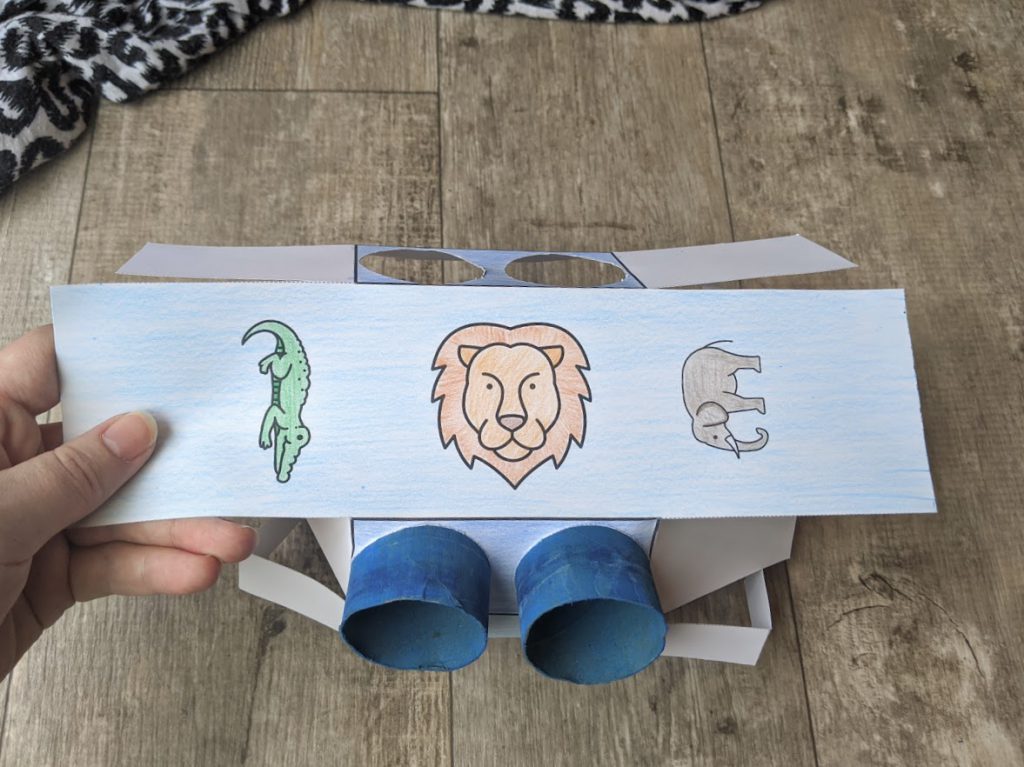
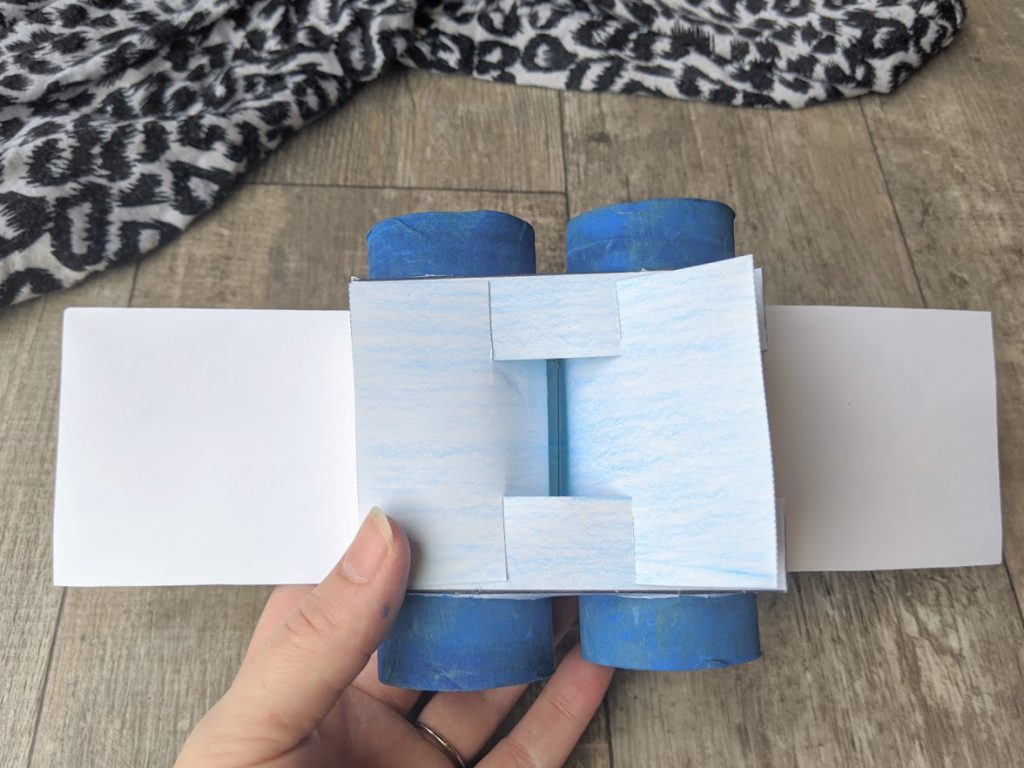
Insert the toilet paper rolls into the holes, starting with one side and then inserting the other.
Tip: Turning the rolls as you insert them can help prevent the paper from tearing.
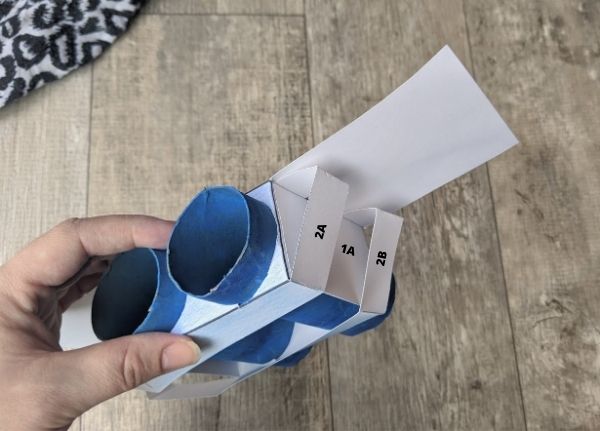
Fold tab 1A over 1B and glue. Do the same on the other side.
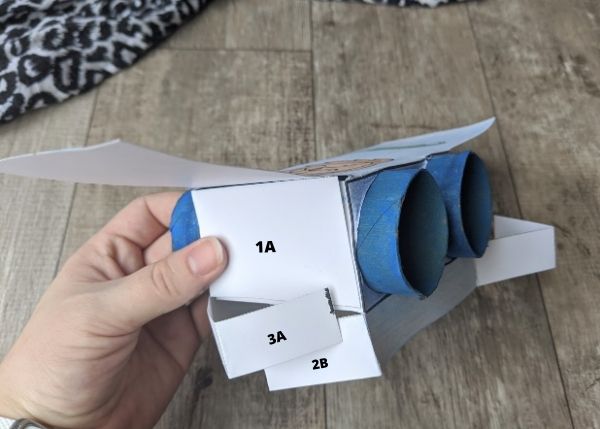
Fold the bottom pieces below the toilet paper rolls down. Then fold 2A and 2B up and glue to tab 1A/B. Tuck 3A and 3B into the slot at the top. Do the same on the other side.

(Option A- No insert) If you aren’t using the bottom insert, fold the remaining paper at the top down and glue it securely to the sides and the bottom. Then skip down to step 13.
(Option B- Using insert) If you are using the insert, line it up with the bottom of the binoculars.
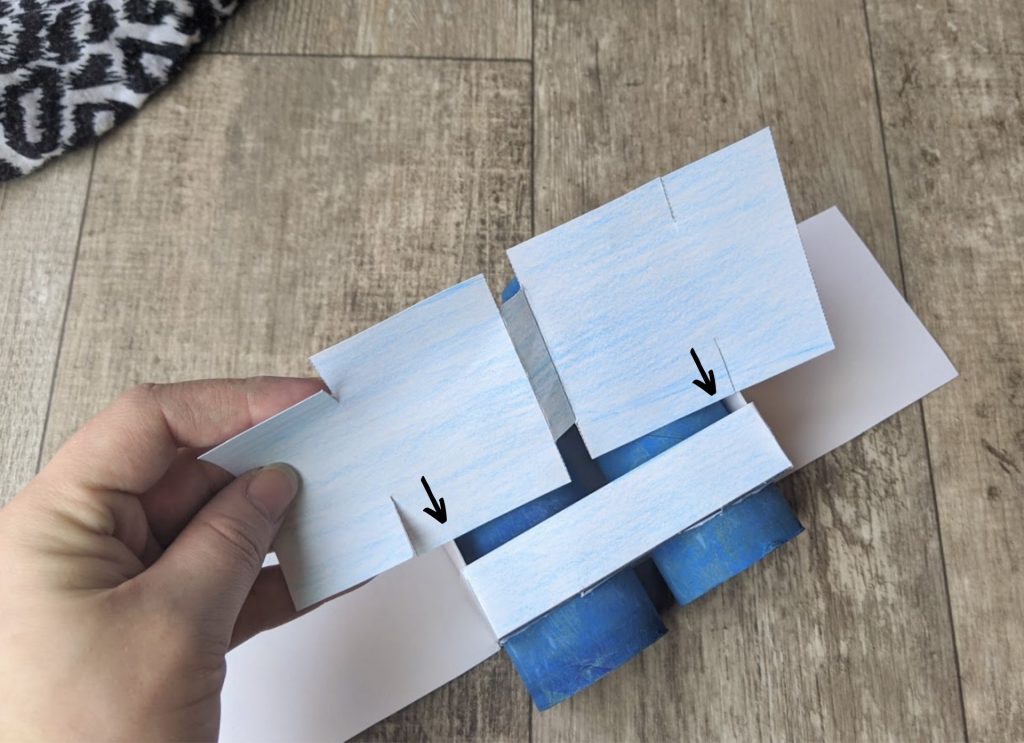
Insert one side at the tabs, so that the middle part goes into the hole and the outer part stays on the outside.
Bend the paper up slightly in the middle to allow the other side to insert as well.
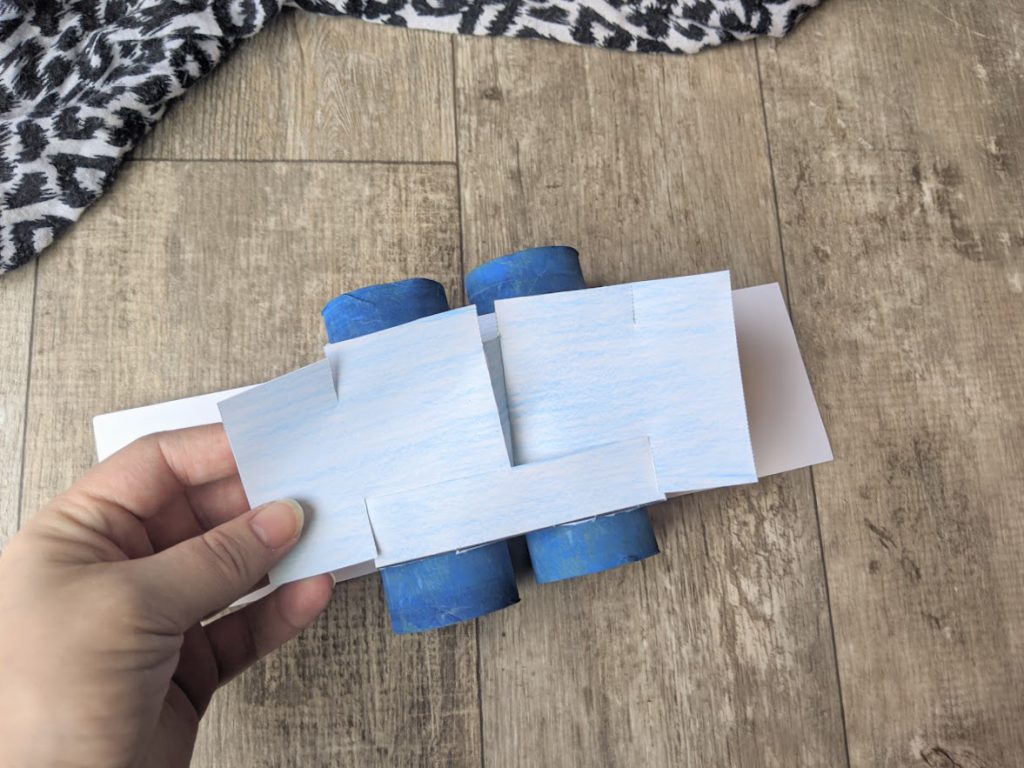
Press down in the middle so that the center of the insert reaches the bottom between the two rolls.
Glue the outer part of the insert to the bottom of the binoculars.
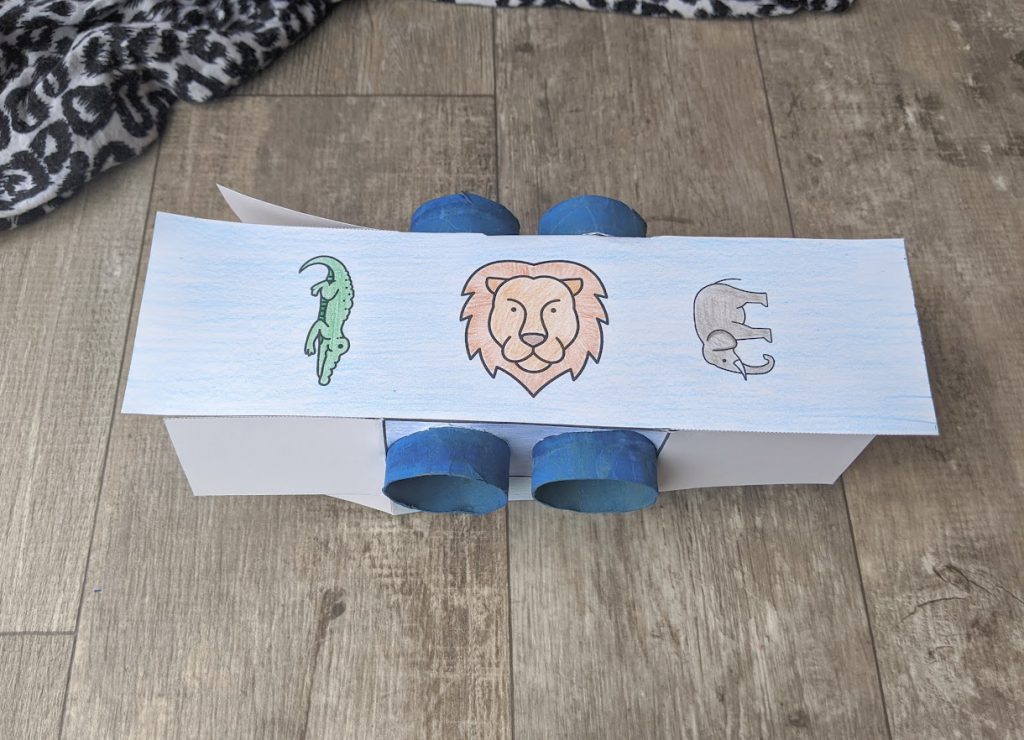
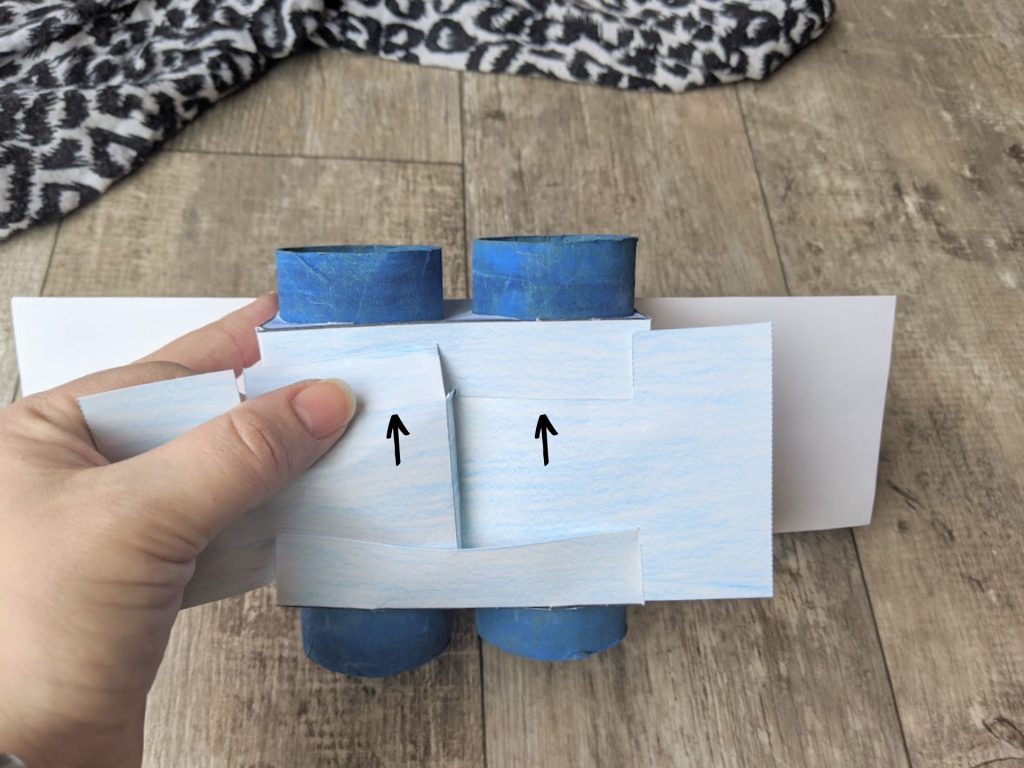
Fold the top piece of paper around the bottom of the binoculars and glue in place on the sides and the bottom.
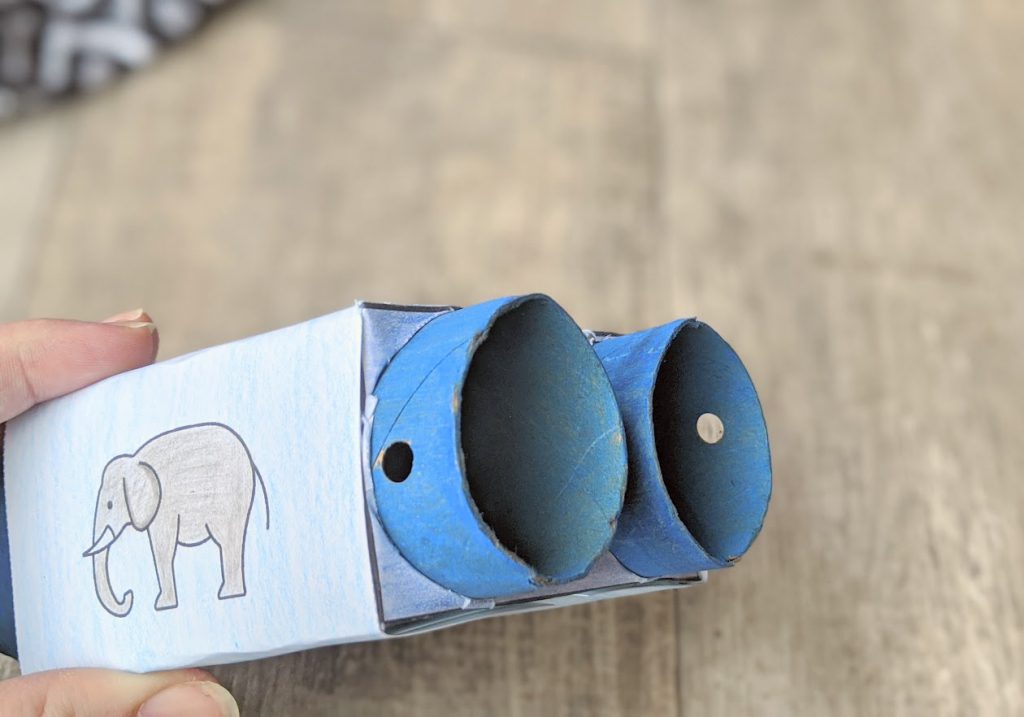
Use a hole punch to place one hole in the outer portion of each toilet paper roll. Cut a string to the appropriate length and tie one end on each side.
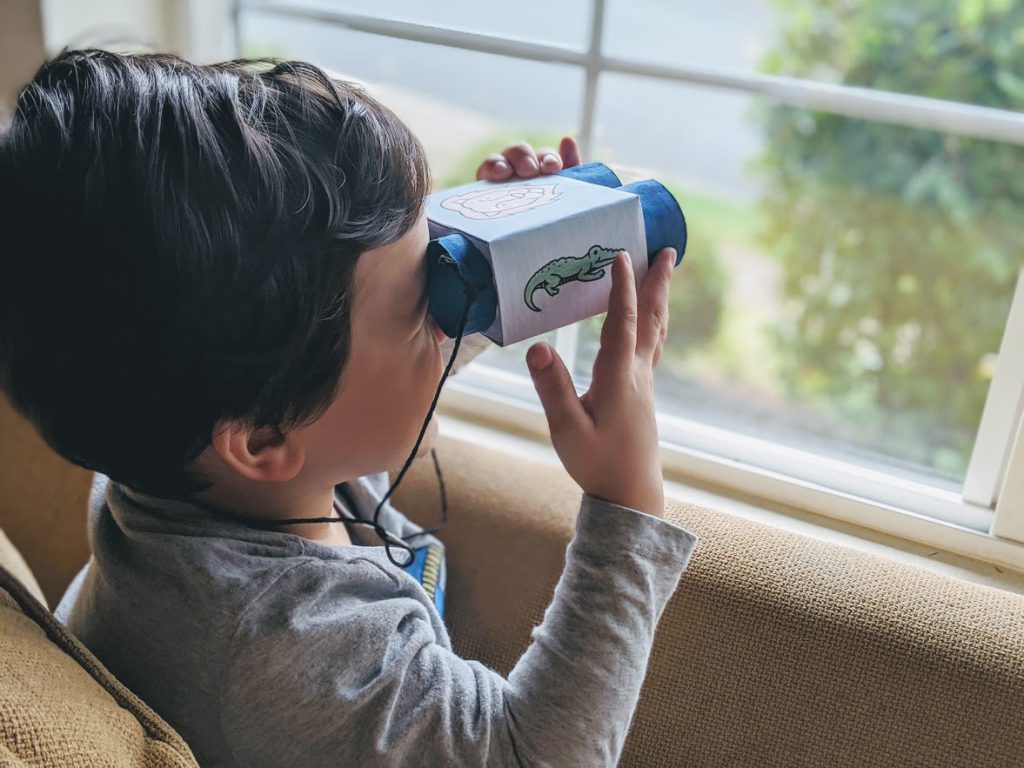
The binoculars are complete! Now comes the fun part of letting your child enjoy their craft!
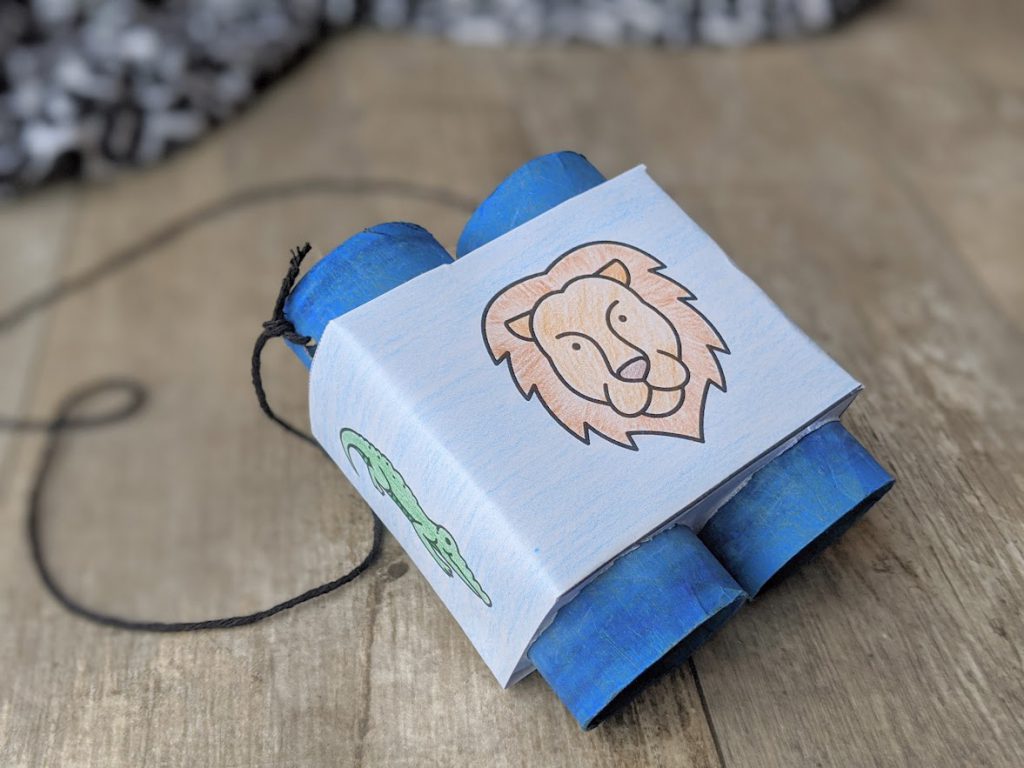
My boys had the best time running around using their binoculars!
Hopefully, your kids will love making these toilet paper roll binoculars as much as we did!

Toilet Paper Roll Binoculars
Materials
- Binocular printout (download below)
- Cardstock paper
- Toilet paper rolls (2)
- Paint
- Paintbrush
- Colored pencils/markers
- Glue (recommended: Elmer's Multi-Purpose Glue)
- String
- Hole Punch
- Scissors
Instructions
- Print out the binocular template printable (download below) on cardstock paper. Make sure you print actual size, NOT scaled or the holes for the toilet paper rolls will be the wrong size.
- Paint the toilet paper rolls (you can also leave them brown to save time).
- While the rolls are drying, color and decorate the printable.
- Cut along the dotted lines and fold along the solid lines- including the bold lines. Fold inwards, away from the pictures.
- Insert the toilet paper rolls into the holes, starting with one side and then inserting the other.
- Fold tab 1A over 1B and glue. Do the same on the other side.
- Fold the bottom pieces below the toilet paper rolls down. Then fold 2A and 2B up and glue to tab 1A/B. Tuck 3A and 3B into the slot at the top. Do the same on the other side.
- Line the insert up with the bottom of the binoculars. Insert one side at the tabs, so that the middle part goes into the hole and the outer part stays on the outside. Bend the paper up slightly in the middle to allow the other side to insert as well. Press down in the middle so that the center of the insert reaches the bottom between the two rolls.
- Glue the outer part of the insert to the bottom of the binoculars.
- Fold the top panel around the bottom of the binoculars and glue in place on the sides and the bottom.
- Use a hole punch to place one hole in the outer portion of each toilet paper roll. Cut a string to the appropriate length and tie one end on each side.
Other posts you might be interested in: