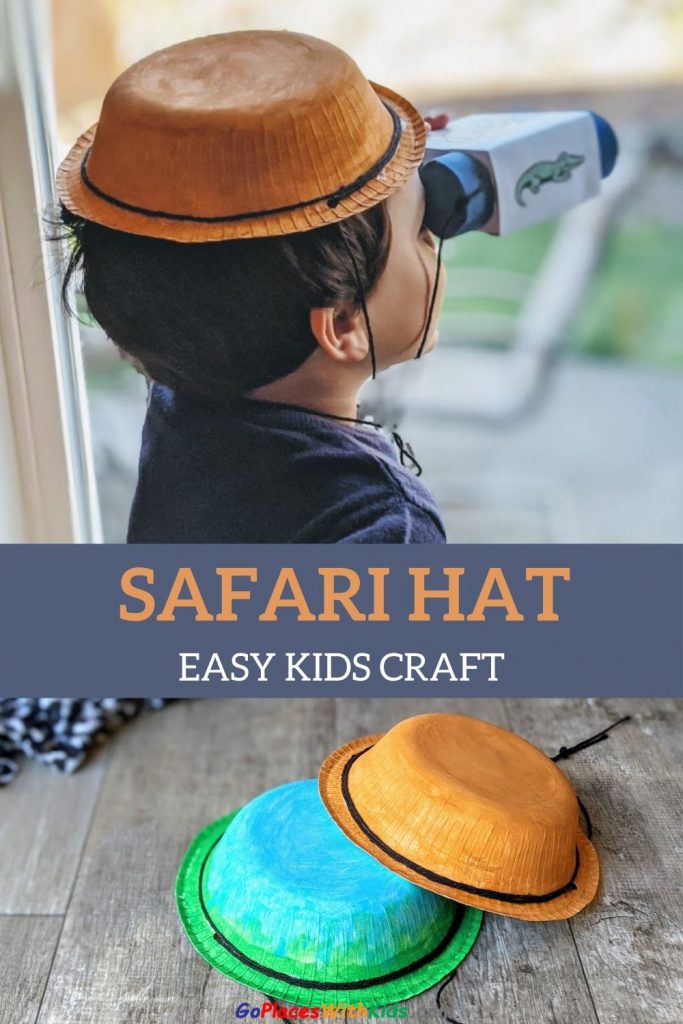
Little adventurers will love learning how to make their very own safari hat with this simple kids craft!
Set your child’s creativity loose by letting them paint and decorate their hat (a paper bowl). And then sit back and watch as they enjoy lots of open-ended play.
We made this for our Uganda preschool unit as part of our section about safaris.
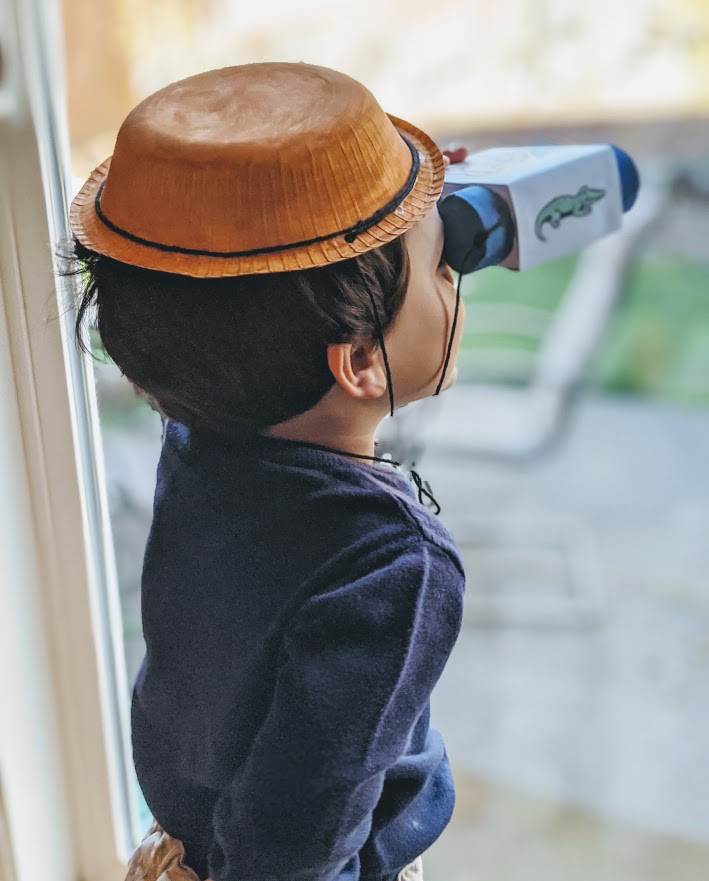
This hat is perfect to make in conjunction with our DIY binocular craft and use in our fun safari look-and-find game .
With all the right gear prepared, your child will feel like they are on a real safari!
Safari Hat Craft
Materials
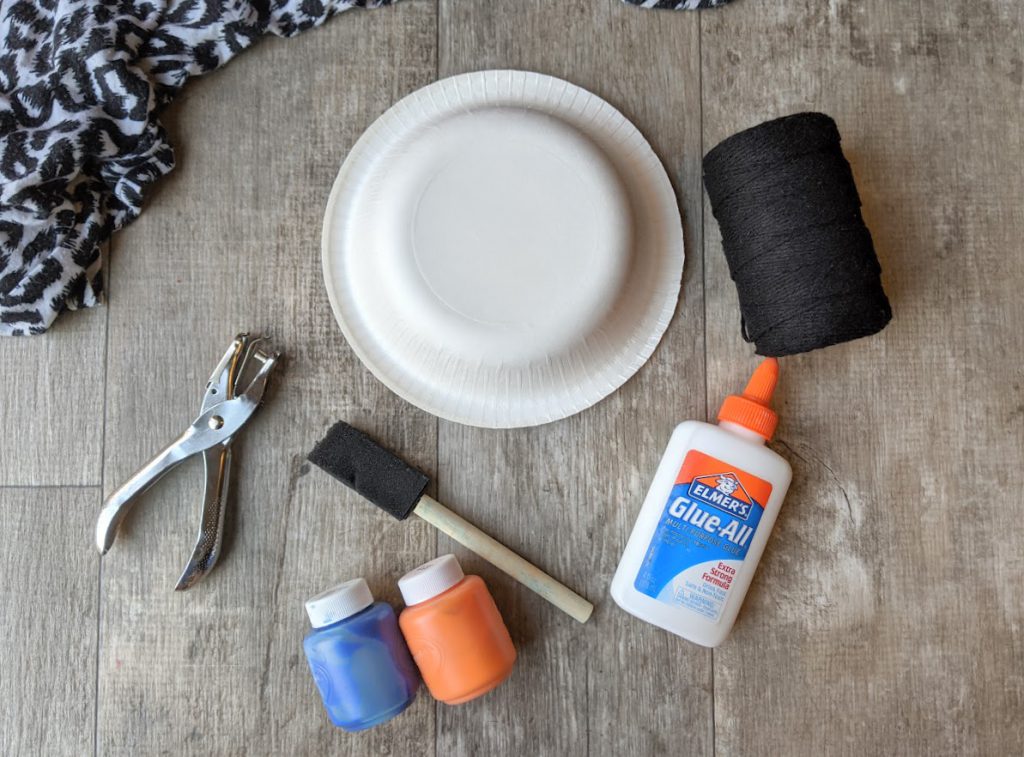
- Paper bowl
- Paint
- Paintbrush
- String
- Glue (recommended: Elmer’s Multi-Purpose Glue)
- Hole punch
Instructions
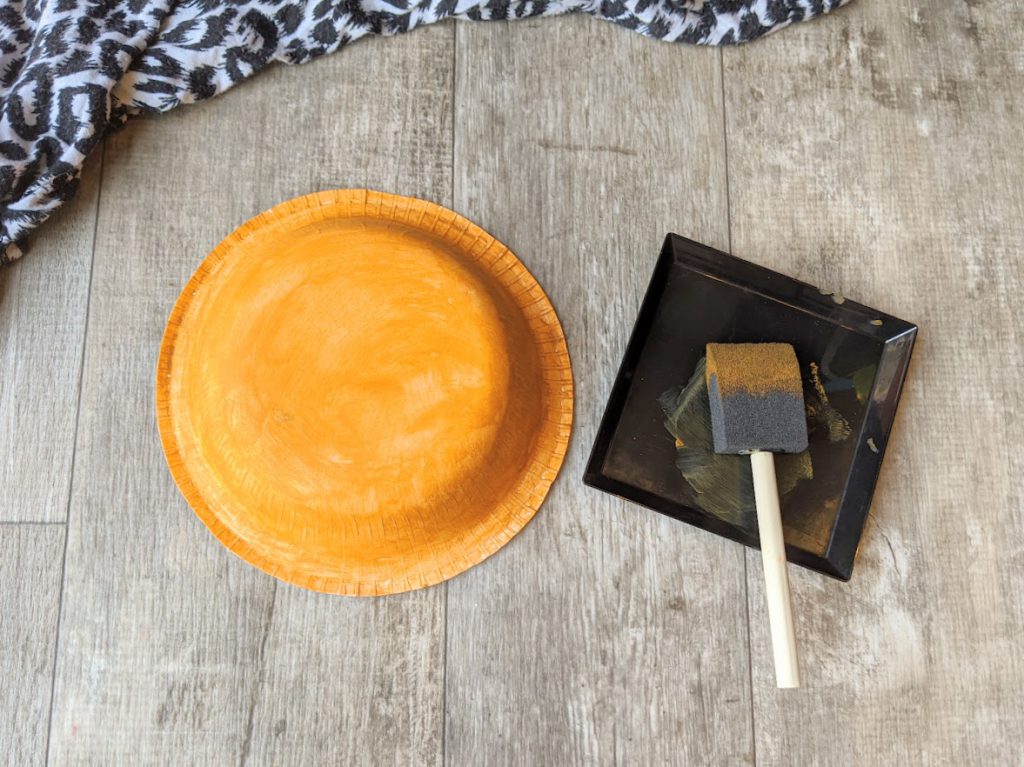
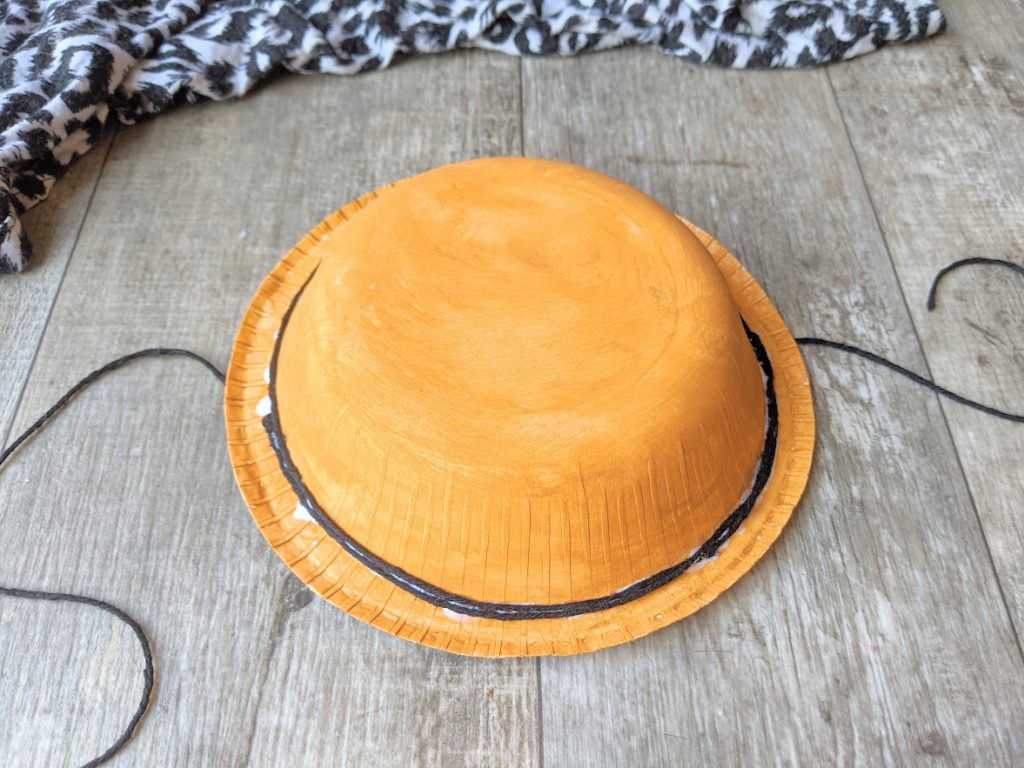
Take your bowl and bend the edges so they point downward instead of up.
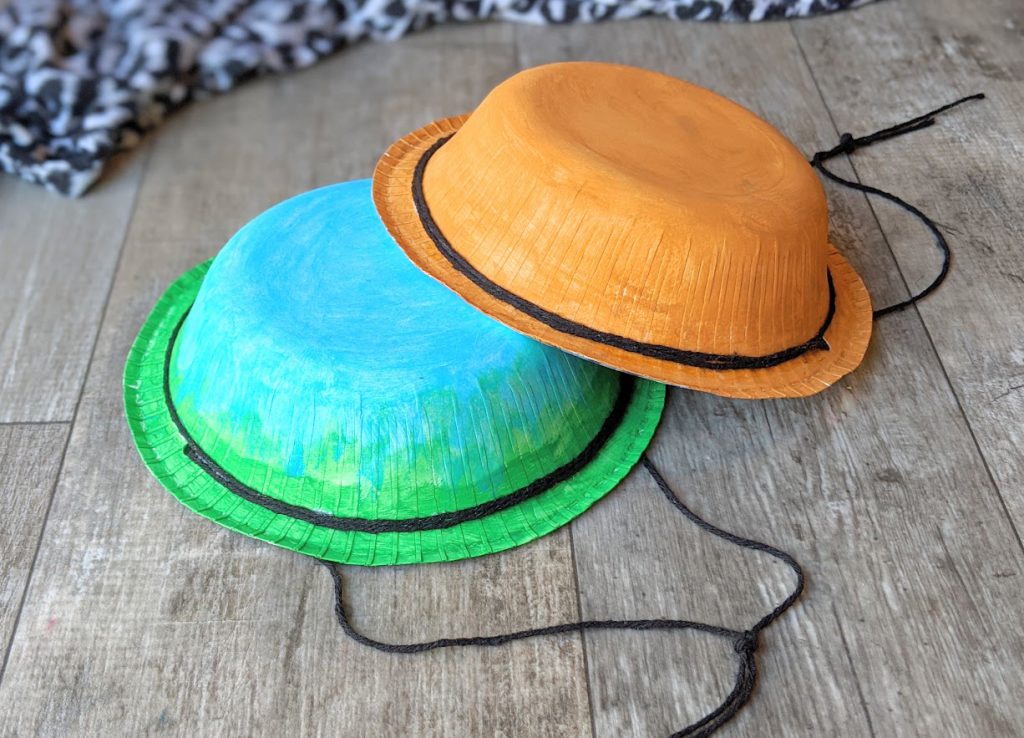
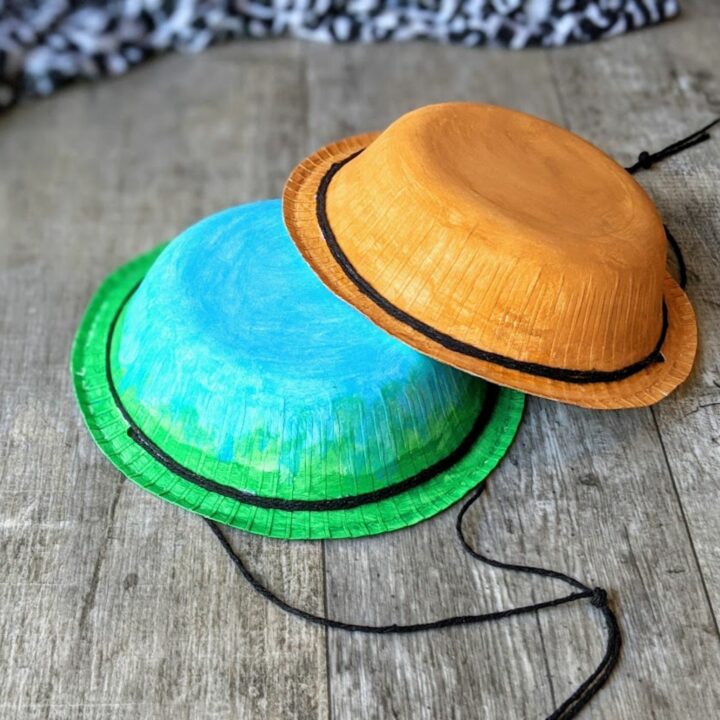
Paint the bottom side of the bowl in the color of your choice. You could go with traditional beige/brown or something more colorful!
Allow the bowl to dry and then punch a hole in each side near the top of the rim.

Cut a piece of string long enough that it can circle the rim of the bowl a time and a half and still have enough slack to tie under your child’s chin.
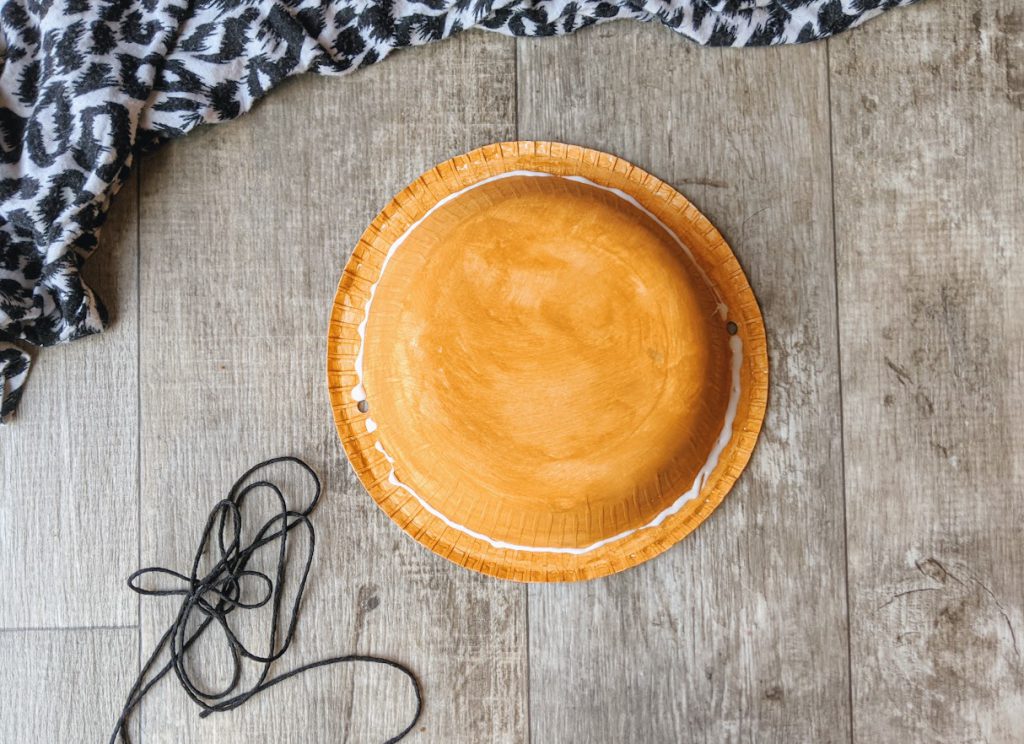
Place a line of glue along the base of the bowl. Wrap the string around the bowl in the line of glue, overlapping on the front half. Stick the extra string down through the hole in each side.
Let the glue dry. When your child uses the hat, tie it securely under your child’s chin to keep it from slipping.
My son had so much fun making and wearing his hat! I loved seeing how much he enjoyed painting his bowl and then his delight to see it turn into a hat with the simple addition of string.
This craft is super simple to make and kids will love feeling like they are ready to go on an adventure!
DIY Safari Hat Craft
Materials
- Paper bowl
- Paint
- Paintbrush
- String
- Glue (recommended: Elmer's Multi-Purpose Glue)
- Hole punch
Instructions
- Bend the edges of the bowl so they point downward instead of upwards.
- Paint the bottom side of the bowl the color of your choice.
- Let the paint dry.
- Punch a hole in each side near the top of the rim.
- Cut a piece of string long enough that it can circle the rim of the bowl a time and a half and still have enough slack to tie under your child's chin.
- Place a line of glue along the base of the bowl. Wrap the string around the bowl in the line of glue, overlapping on the front half. Stick the extra string down through the hole in each side.
- Let the glue dry. Tie the string securely under your child's chin when they are using it to keep it from slipping.
Other posts you might be interested in:
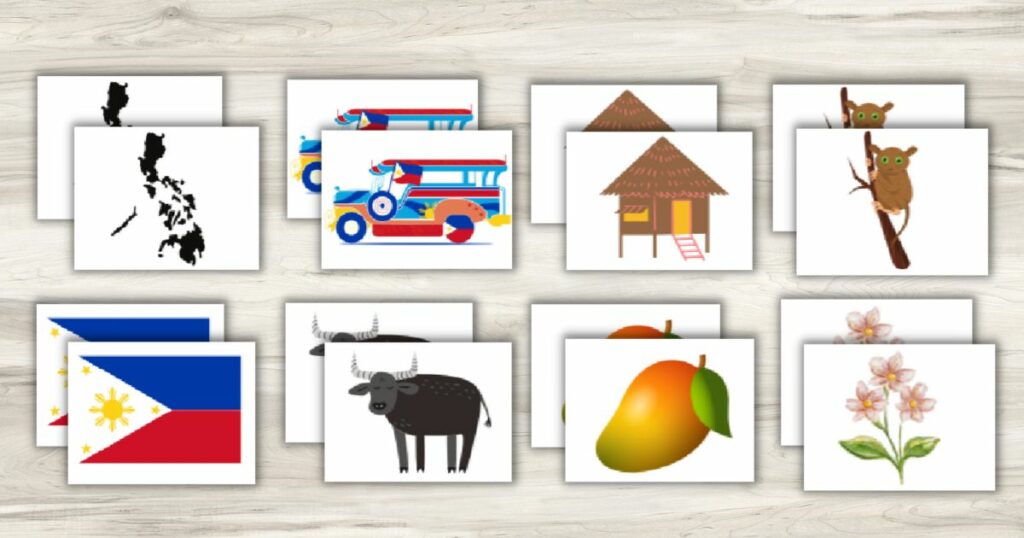
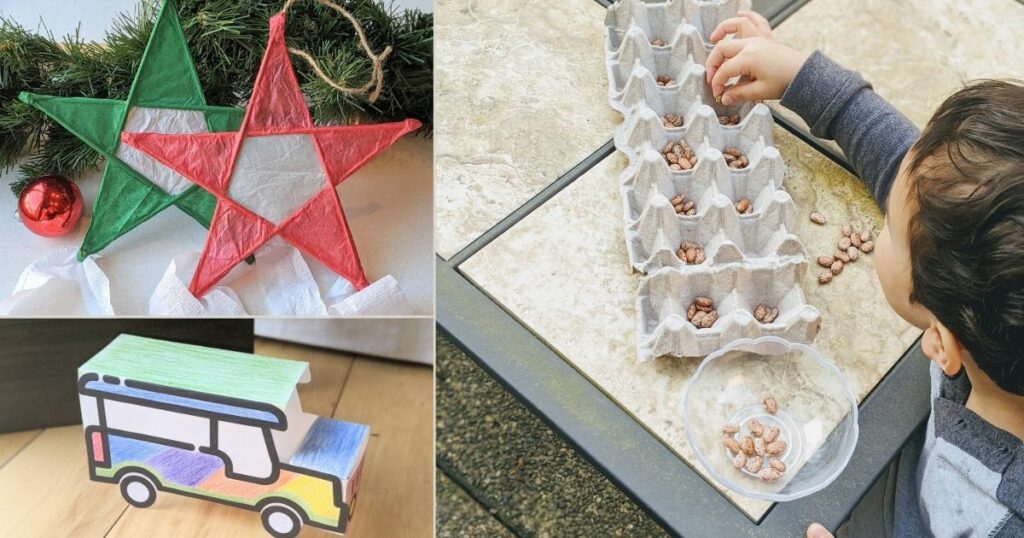
Philippines Preschool Unit- Crafts, Activities, and Free Printables!
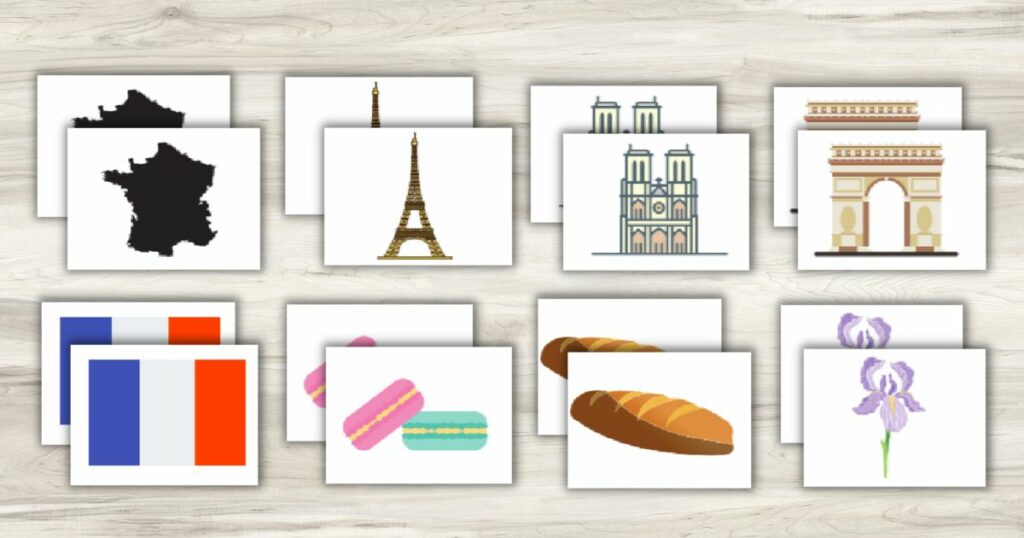
Make Your Own Eiffel Tower- 3D Kids Craft